In today’s fast-moving digital space, audiences no longer just consume content passively—they interact with it, share it, and expect brands to showcase authentic, real-time conversations. That’s why social media aggregators have become essential tools for businesses, marketers, and event organizers.
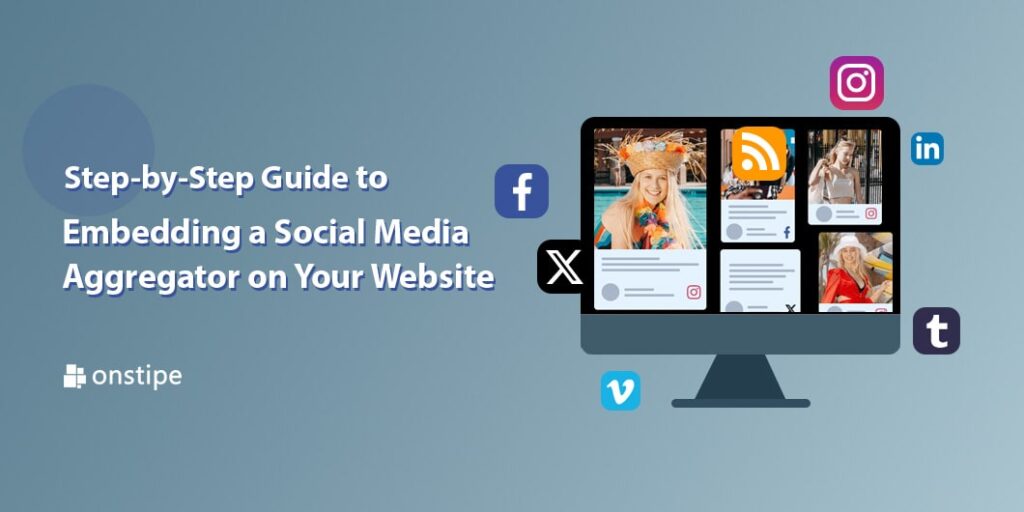
Instead of embedding static posts one by one, a social media aggregator collects content from multiple platforms (Instagram, YouTube, LinkedIn, Facebook, X/Twitter, etc.) and displays it on your website in a customizable, dynamic feed.
If you want to transform your website into an engagement hub that showcases fresh, user-generated content (UGC), testimonials, influencer collaborations, or live updates, this step-by-step guide will walk you through everything you need to know about embedding a social media aggregator on your site.
Why Embed a Social Media Aggregator on Your Website?
Before jumping into the how-to, let’s quickly look at the benefits of using an aggregator:
Fresh Content, Always – Your feed updates in real time.
Boost Engagement – Visitors browse, interact, and spend more time on your site.
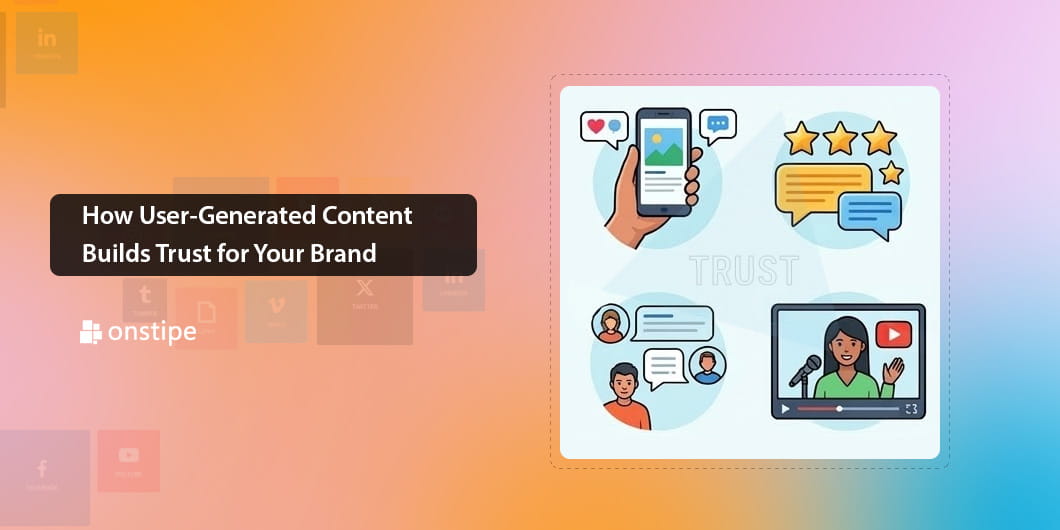
Showcase UGC – Social proof from real customers builds trust.
Improve SEO – Dynamic, frequently updated content signals authority to search engines.
E-commerce Benefits – Turn social posts into shoppable feeds that drive conversions.
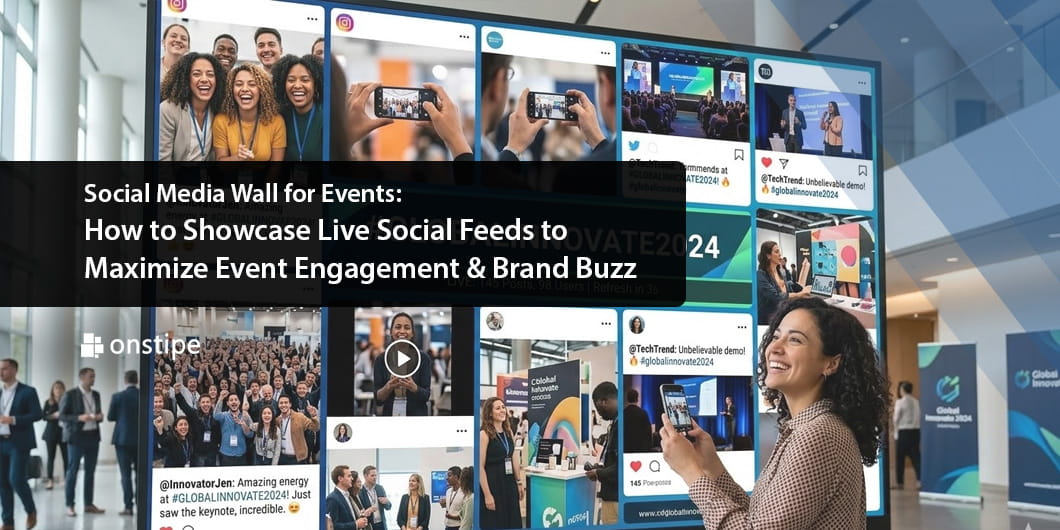
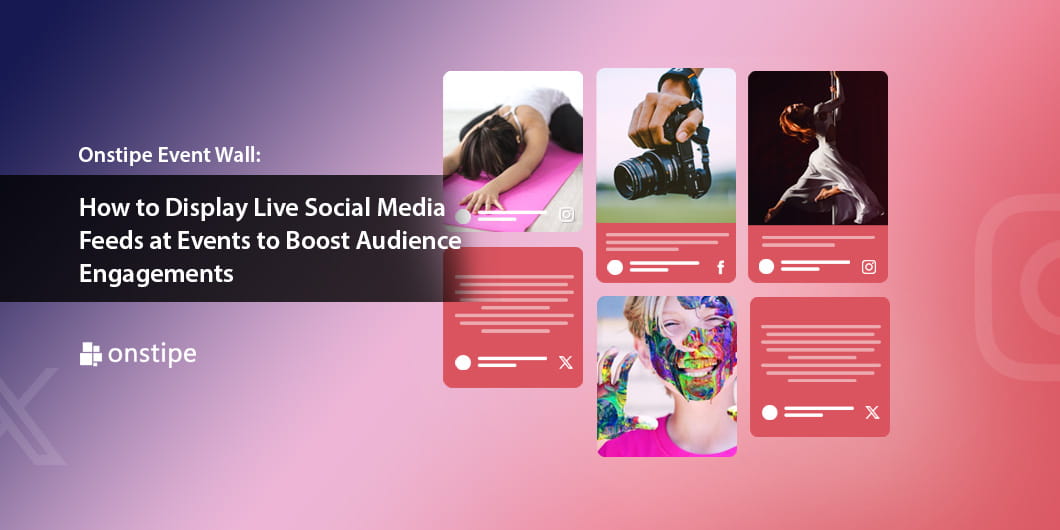
Event Experiences – Create live social walls to increase hashtag participation.
In short: embedding an aggregator turns your static site into a socially powered experience.
Step 1: Choose the Right Social Media Aggregator Tool
There are dozens of tools available, but not all offer the same features. Before embedding, you need to choose one that fits your goals.
Factors to Consider:
Platform Support – Does it integrate Instagram, LinkedIn, YouTube, Facebook, and X/Twitter?
Customization Options – Can you match feed design with your brand colors and typography?
Moderation Tools – Does it allow filtering, AI moderation, or manual approvals to avoid unwanted content?
Real-Time Updates – Does the feed refresh automatically?
Shoppable Features – If you run e-commerce, can you tag products in posts?
Analytics – Can you track impressions, clicks, and engagement?
Pricing – Does it fit your budget and scale with your growth?
Top Social Media Aggregators in 2025:
Onstipe – Excellent for UGC, events and live social media walls.
Walls.io – Best for events and live social media walls.
Juicer – Affordable and beginner-friendly.
Tint – Advanced customization and enterprise-grade features.
EmbedSocial – Simple, clean, and great for small businesses.
👉 Pro Tip: If you’re running an event or campaign, prioritize tools with real-time updates. For online stores, go with a tool that supports shoppable feeds.
Step 2: Set Up Your Aggregator Account
Once you’ve selected your tool, the next step is creating an account and setting up your feed.
General Setup Process (example with Onstipe):
Sign Up/Login – Register on your chosen aggregator platform.
Create a New Feed – Select the social network(s) you want to connect.
Choose Source – Options usually include:
Hashtags (#YourBrandHashtag)
Mentions (@YourBrand)
Page/Profile posts
Keywords or campaigns
Connect Accounts – Authorize the platform (Instagram, Facebook, etc.) to fetch posts.
Curate Your Feed – Use moderation settings to approve or reject posts before they appear.
Customize Layout & Style – Pick from grids, carousels, walls, or masonry layouts. Adjust fonts, colors, and backgrounds to match your site branding.
By this point, your feed is ready—now comes embedding.
Step 3: Generate the Embed Code
Most aggregators provide a ready-to-use HTML embed code or JavaScript snippet.
Here’s how:
Go to your Wall.
Click on “Embed /Display” option.
Select your platform: Website, WordPress, Shopify, Wix, Squarespace, etc.
Copy the generated code snippet.
This script will pull your feed and display it directly on your site.
Step 4: Embed the Code on Your Website
Now, let’s go platform by platform.
1. HTML Website
Open your website’s HTML editor.
Paste the code where you want the feed to appear (homepage, product page, blog, footer).
Save & refresh your site to see the feed live.
2. WordPress
Go to Dashboard → Pages → Edit Page/Post.
Switch to the Text/HTML block in Gutenberg.
Paste the embed code.
Update the page and preview the live feed.
3. Shopify
Go to Online Store → Themes → Edit Code.
Paste the embed code inside the relevant Liquid file (e.g., product.liquid or index.liquid).
Save changes and check your storefront.
👉 Pro Tip: Place UGC feeds near product descriptions to increase trust and conversions.
4. Wix
Open your Wix Editor.
Click + → Embed → Custom Embeds → Embed a Widget.
Paste the code and resize the widget as needed.
5. Squarespace
Open the page editor.
Add a Code Block.
Paste the embed snippet.
Save & preview.
Step 5: Customize the User Experience
Embedding the feed is just step one. To maximize engagement, you should optimize how it looks and works.
Customization Tips:
Brand Alignment – Match fonts, colors, and backgrounds with your brand identity.
Layout – Choose between grid, carousel, wall, or slideshow depending on your use case.
Load Speed – Optimize image sizes to avoid slow page load.
Moderation – Always review UGC before publishing to avoid inappropriate content.
CTAs – Add buttons like “Shop Now” under shoppable posts.
Step 6: Test the Feed Across Devices
Before going live, test your embedded aggregator:
Check responsiveness – Does it adjust well on mobile, tablet, and desktop?
Verify loading speed – Ensure it doesn’t slow down your website.
Engagement check – Can users click, scroll, or interact smoothly?
Browser compatibility – Test on Chrome, Safari, Firefox, and Edge.
👉 Pro Tip: If your site slows down, use lazy loading to only load the feed when visible.
Step 7: Monitor Performance with Analytics
The true power of aggregators lies in analytics. Unlike traditional embeds, most tools provide performance metrics.
Key Metrics to Track:
Impressions – How many visitors saw the feed.
Engagement – Clicks, interactions, likes, or shares.
Conversions – Purchases driven by shoppable feeds.
Content Performance – Which social posts perform best on your site.
Use these insights to optimize campaigns and highlight the most engaging content.
Step 8: Keep Updating & Scaling
Embedding is not a one-time job. To maintain relevance and engagement:
Update Hashtags – Refresh campaigns with seasonal hashtags.
Add New Platforms – As YouTube Shorts, or future platforms rise, integrate them.
Experiment with Layouts – Try carousels for product launches or grids for event recaps.
Promote Your Feed – Encourage users to tag you to get featured.
Best Practices for Maximum Engagement
Highlight UGC – Audiences trust other customers more than brand-created content.
Use Hashtag Campaigns – Encourage event attendees or customers to share with a branded hashtag.
Embed Strategically – Place feeds on product pages, event landing pages, or community hubs.
Moderate Carefully – Protect your brand reputation by filtering unwanted posts.
Pair with Email & Ads – Repurpose your feed content in newsletters or paid campaigns.
SEO & Conversion Benefits of Embedding an Aggregator
Embedding a social aggregator is not just about looks—it has tangible SEO and revenue impacts:
SEO Boost – Dynamic feeds keep your site fresh, improving crawlability.
Dwell Time – Visitors stay longer, lowering bounce rates.
Conversion Lift – Shoppable feeds shorten buying journeys.
Trust Factor – Real customer content builds social proof instantly.
👉 For e-commerce, studies show that showcasing UGC can increase conversions by 20–30%.
Final Thoughts
Embedding a social media aggregator is one of the most effective ways to bring your brand’s community, conversations, and creativity directly onto your website.
Unlike traditional embeds, aggregators allow you to:
Pull from multiple platforms.
Update feeds automatically in real time.
Showcase authentic UGC and shoppable posts.
Improve engagement, SEO, and conversions.
By following this step-by-step guide—choosing the right tool, setting up your feed, embedding it on your platform, and optimizing for performance—you’ll unlock the full power of social-driven marketing in 2025 and beyond.