Your website may have great products, helpful information, and a polished design, but there is one thing it can struggle to show: what people are saying about your brand right now.
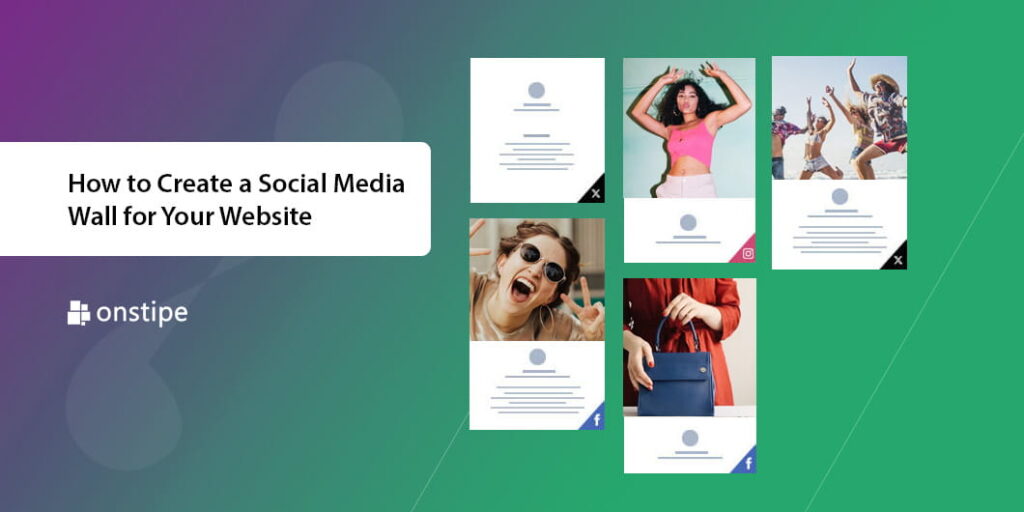
A social media wall brings posts from platforms such as Instagram, Facebook, YouTube, TikTok, X, and other social channels into one engaging display. Instead of sending website visitors away to check your social profiles, you can bring those conversations directly to your website.
In this guide, we’ll walk through how to create a social wall for your website, from choosing your content sources to customizing the feed and embedding it on your site.
What Is a Social Media Wall?
A social media wall is a live or regularly updated collection of social media content displayed in one place.
Depending on the tool you use, you can collect posts based on social profiles, hashtags, keywords, mentions, or specific accounts. The content can then be displayed as a grid, carousel, slider, masonry layout, or other visual format.
For example, imagine you run a hotel. Your guests are already posting beautiful photos of their rooms, meals, and experiences on Instagram. Instead of letting those posts disappear into the social feed, you can collect them and display selected content on your website.
That simple addition can make the website feel more active, authentic, and connected to real customers.
Why Add a Social Wall to Your Website?
A website usually represents what a brand says about itself. A social wall can show what customers are saying about the brand.
That distinction matters.
Customer-generated content can provide social proof and help visitors see real experiences rather than only promotional copy.
A social wall for website visitors can help you:
- Showcase user-generated content.
- Keep website content visually fresh.
- Encourage visitors to follow your social profiles.
- Highlight customer experiences and testimonials.
- Create social proof around products or services.
- Increase interaction with your social content.
- Make landing pages and campaigns more engaging.
For events, a social wall can also turn online conversations into part of the physical experience. Attendees can post using an event hashtag while selected posts appear on screens around the venue.
Step 1: Decide What Content You Want to Display
Before choosing a tool, decide what type of social content you want to collect.
You could display:
- Posts from your brand account.
- Customer photos and videos.
- Posts containing a branded hashtag.
- Influencer or creator content.
- Product mentions.
- Event-related posts.
- Reviews and testimonials.
Your goal should determine your content source.
For example, an e-commerce brand might focus on customer photos featuring its products, while a conference organizer may want to collect posts using the event hashtag.
Having a clear goal also makes moderation much easier later.
Step 2: Choose a Social Media Wall Tool
The easiest way to create a social media wall is to use a dedicated aggregation platform.
Look for a solution that supports the social networks you use, offers customization, provides moderation controls, and gives you an easy way to publish the feed.
Some platforms provide a ready-made social media wall widget that can be added to a website with a small piece of code.
When comparing tools, pay attention to:
- Supported social networks.
- Content moderation.
- Feed customization.
- Responsive design.
- Analytics.
- Automatic updates.
- Website compatibility.
- Multiple display layouts.
- Customer support.
Don’t choose a platform simply because it has the most features. Choose one that solves your particular problem without making your workflow unnecessarily complicated.
Step 3: Connect Your Social Media Accounts
Once you’ve selected a platform, connect the social accounts or content sources you want to use.
Depending on the service, you may be able to add content through account connections, hashtags, keywords, URLs, or other available sources.
For example, a fashion brand might create a feed that pulls customer posts associated with its branded hashtag.
This is where your social media wall starts becoming more than a collection of your own posts. It can become a window into your wider community.
Step 4: Moderate Your Content
If you’re collecting public social media content automatically, you don’t necessarily want every post to appear on your website.
Use moderation tools to review content before it goes live. Remove posts that are irrelevant, inappropriate, outdated, or simply don’t fit your brand.
If you’re showcasing user-generated content, it’s also important to respect the relevant platform’s rules and permissions and to use content appropriately.
A carefully moderated wall feels intentional. An unfiltered wall can quickly look messy.
Step 5: Customize the Design
Now comes the fun part.
Your social wall shouldn’t look like a foreign object sitting inside your website. Customize its colors, spacing, layout, fonts, and other visual elements so it fits naturally with your existing design.
You might choose:
- A clean grid for an online store.
- A masonry layout for a photography or travel brand.
- A carousel for a compact homepage section.
- A full-width wall for an event landing page.
- A larger display format for digital signage.
The goal isn’t to make the wall flashy just for the sake of it. The content should remain easy to browse and shouldn’t compete with your primary call to action.
Step 6: Embed the Social Media Feed
Once your feed is ready, it’s time to publish it.
Most social media aggregation platforms provide an embed option. Typically, you’ll receive a piece of code that you can add to the appropriate section of your website.
To embed social media feed content, you generally:
- Create and customize your feed.
- Select the website or embed option.
- Copy the generated code.
- Open the page where you want the display
- Paste the code into the appropriate HTML, CMS, or website editor section.
- Save and preview the page.
The process depends on your website platform.
If you’re using WordPress, Shopify, Wix, Webflow, or another website builder, check whether the platform supports custom HTML or embed blocks.
Step 7: Make Sure It Works on Mobile Screen
A social wall that looks fantastic on a desktop can become frustrating on a phone if it’s not responsive.
Before publishing, check the wall on different screen sizes.
Make sure:
- Images aren’t cut off unnecessarily.
- Text remains readable.
- Buttons are easy to tap.
- The feed doesn’t slow down the page.
- The layout adapts naturally to smaller screens.
Since a significant portion of website traffic comes from mobile devices, responsive design shouldn’t be treated as an optional extra.
Step 8: Keep Your Social Wall Fresh
One of the biggest benefits of a social wall is that it can update automatically.
Once you’ve connected your content sources and embedded the feed, new posts can appear without someone manually updating the website every day.
Still, don’t completely forget about it.
Check your feed occasionally, review moderation settings, remove outdated content when necessary, and make sure the connected social accounts are still working correctly.
Where Should You Place Your Social Media Wall?
You don’t have to limit your social wall to the homepage.
Consider placing it on:
- Product pages.
- Campaign landing pages.
- Event pages.
- Blog pages.
- About pages.
- Contact pages.
- Dedicated community pages.
For an online store, customer content might work particularly well near product information. For an event, a social wall may be more useful on the event homepage or a dedicated live social page.
Think about where visitors are most likely to benefit from seeing real-world experiences.
Final Thoughts
Creating a social media wall for your website doesn’t have to be complicated. With the right tool, you can collect relevant social content, moderate it, customize its appearance, and embed social media feed content directly into your website.
The real value, however, isn’t the widget itself.
It’s the people behind the posts.
A well-designed social wall for website visitors can turn customer photos, conversations, videos, and experiences into part of your brand story. And with a flexible social media wall widget, you can keep that story fresh without constantly rebuilding your website.
Start with a clear goal, choose content that genuinely adds value, moderate it carefully, and design the wall so it feels like a natural part of your site. Done well, your social media presence won’t just live on social networks—it will become part of the website experience, too.